QuickBooks error code H505 is a part of H series error that is encountered by QuickBooks users pretty often. This error code can be seen when the user tries to switch to the multi-user mode. It can result in blocking the multi-user connection to the server, and comes up with an error message stating “QuickBooks has faced a problem and needs to close. Sorry for any inconvenience caused”.

If you are also facing this kind of issue and unable to tackle with it, then make sure that you read this blog post till the end, or you can also get in touch with our QuickBooks error support team via our toll-free number i.e. 1-800-761-1787.
Causes of QuickBooks H505 error- The very first cause of the error can be if the hosting configuration of the device is incorrect
- Or in case a damaged or wrong .ND file is present
- This error code can be encountered due to incorrect DNS settings
- Another reason behind this error code can be if the database server manager is not able to find the IP address of the host system or in case it is using several different IP addresses
- Also, if the system firewall settings is obstruction to get to the company file
Follow the given steps in order to resolve the QuickBooks error code H505.
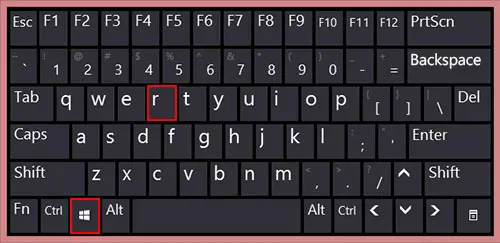
Method 1: Configure firewall ports settings- The first step is to start with opening a run dialog box that can be done by pressing Windows + R
- After that, the user needs to open the control panel
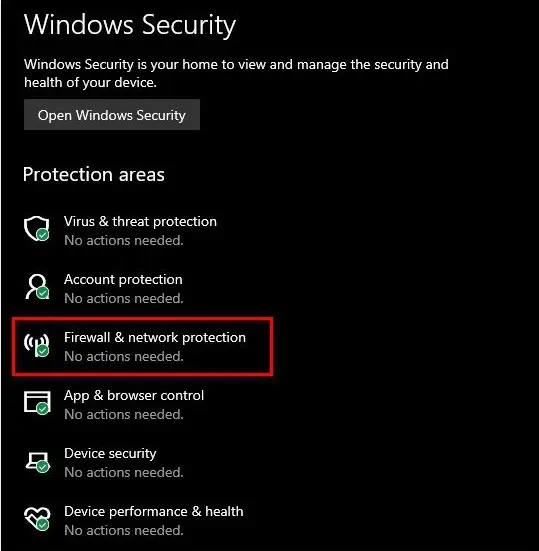
- The next step in the process is to select system and security option and open windows defender firewall
- Once done with that, the user is supposed to click on the advanced settings option and then click on the inbound rule and new rule
- Moving ahead, the user needs to select a port and hit next
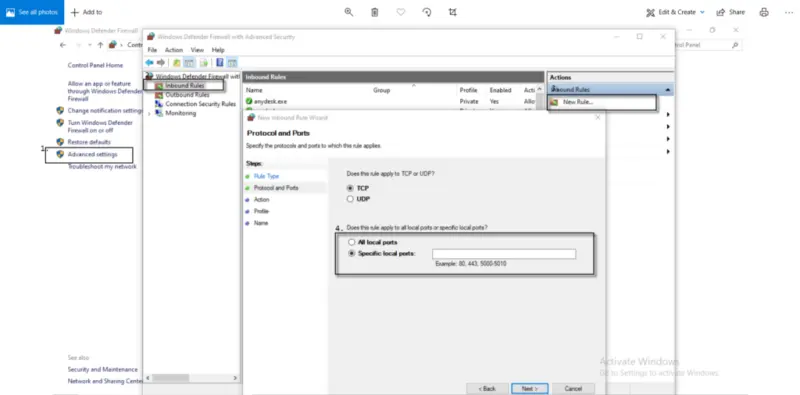
- The next step is to ensure that correct TCP option is selected and then enter the port of the QB desktop’s year version
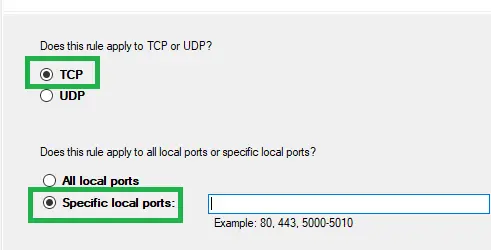
- Lastly, when the year code has been entered in the respective field, then the user needs to click on next and then reboot the QuickBooks desktop and complete the process
